At KegLand, we are pretty much at the vanguard of homebrewing. Our company ethos has always been to design and creat homebrew product from the ground up that allowed our customers to have the cheapest possible entry point into creating the best possible homebrew.
There are two techniques that really form the core of our philosophy.
!: Pressure Fermentation
2: Kegging
In short, as both of these techniques are covered in detail in other articles (see here for way too much info about pressure fermentation, and here for a guide to kegging)
So this article will be focussed on the 'how tos' of pressure fermentation and kegging, rather than the 'whys'.
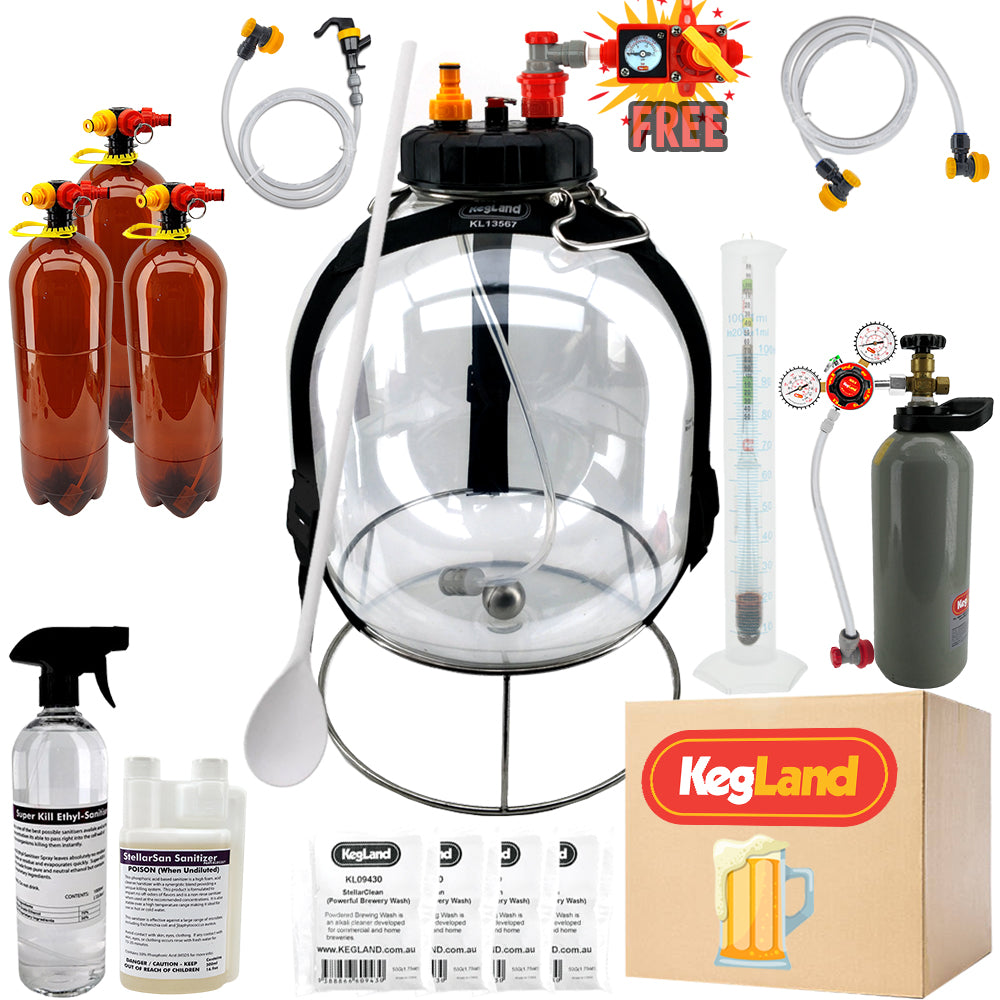
If you have stumbled across this while looking for a way to get into pressure fermenting and/or kegging, then I recommend you have a look at this kit. This was designed as the absolutely cheapest an easist way to get into this hobby in the best possible manner with the least amount of outlay and equipment!
So, assuming that you have the KegLand Pressure Fermenter Home Brew Starter Kit or something similar, let's go through the process.
In short, with homebrew (all brewing, really), there are three steps.
1: Brewing
Its no secret that we love All Grain brewing, but that's not for everyone for a variety of reasons.
Space is one. Time is another. Cost of equipment is another.
To that end, a lot of new brewers start with extract kits - youknow the ones - the masive cans that you can see at the supermarket or on the shlf at Dans. They are great, and a good entry point.
But we can do better.
Using DME (Dry Malt Extract) and steeping grains, along with pellet hops and top quality dry yeast (Lallemand is our main jam for yeast) you can quickly and easily get great tasting craft style beer at a fraction of the cost of the real thing, and in a fracction of the time of All Grain brewing.
So using DME and steeping grains, we have created a range of recipe kits that can be brewed in around 60 minutes from start to finish!
For more information, check out this video.
We also have a pretty decent guide to brewing with these kits here.
Intrigued? You will find them on our website.
2: Fermenting
Fermentation really couldn't be much simpler. Basically, if you add yeast to wort (the sugary malt liquid that cbecomes beer) it absolutely will ferment, creating CO2 and ethanol in the process - that's how wort becomes beer.
But just because it is easy, doesn't mean we can't do it better.
Enter pressure fermentation and transferring.
The ability to ferment under pressure opens up a whole new ball game.
Fermenting under pressure helps to reduce ester production - the compounds produced by yeast that can introduce 'off' flavours to your brew.
So, by adding pressure to the mix, it allows us to ferment at higher temperatures with greatly reduced chance of off flavours. The advantages of this are twofold.
1: You can ferment faster. I mean, this speaks for itself - make beer quicker.
2: You can also more readily produce great beer without temperature control. This is massive for new homebrewers, as temperature control is often out of reach when starting out. Pressure fermenation means this is far less of an issue.
For a comprehensive breakdown and guide to pressure fermentation, please see this super detailed article.
Then, when it is time to keg, we can do this literally in the best possible manner, which lead us to step 3.
3: Packaging and Dispensing
Most homebrewers probably start out bottling. You only need a cheap fermenter and tap, and no real equipment apart from bottles and a capper, and maybe a bottling wand for your fermenter.
We are called KegLand for a reason though.
Kegging has a whole bunch of benefits over bottling. It's easier. There's less to clean. Shelf life is potentially greatly improved. Pouring a beer off tap is intrinsically cooler than cracking a bottle.
But most of all, with the 30L FermZilla All Rounder we have significantly lowered the price of entry to full, closed pressure transfers from fermenter to keg.
Oxygen free, closed transfers. Just like the big breweries do. Pefect for maintaing freshness and that oh so important hoppy aroma. Not to mention all but eliminating the risk of oxidation - one of the number one enemies for flavour , especially in modern, hoppy beer styles.
So really, there are only two things standing before you and the path to brewing and kegging goodness.
The cost of equipment.
The required knowledge.
Well, the aformentioned KegLand Pressure Fermenter Home Brew Starter Kit covers the cost side. There is simply no cheaper or better way to get into this awesome hobby.
You basically need to know how to transfer your delicious beer from the fermenter to the keg. This can easily be done at home - see this article for a guide to pressure transfers.
Once it is in the keg you need to carbonate the beer. We recommend the Set And Forget technique, but Fast, Forced Carbonation is another option, especially if you are in a hurry!


