Canning your beer is relatively new in homebrewing circles.
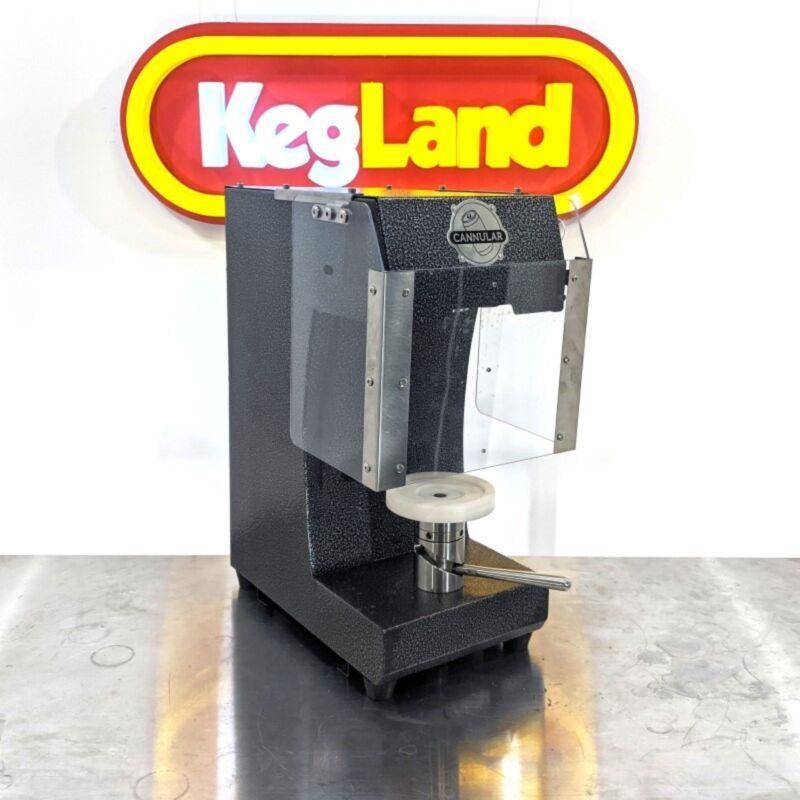
For starters, the cost of the canning equipment was considered to be prohibitively expensive. That has changed with the addition of equipment such as our own Semi Auto Cannular benchtop seamer to the market.
Obviously, another factor is that cans are cool! Pop down to your local bottle shop, and you will see all the trendy beers are in cans, not bottles.
This is for a pretty good reason. Cans are inexpensive, impervious to light and oxygen and 100% recyclable.
What Do I Need?
Pretty simple really.
You’ll need to purchase a benchtop can seamer such as the Cannular. You will need some cans and lids.
You will also need beer that is both carbonated and chilled. Ideally, we want to be canning from a keg, so that is what we will discuss here.
There are two basic methods to can your beer.
Canning your beer with a Bottle Filler Beer Gun
The first and best method is demonstrated thoroughly in this video:
Broadly speaking, firstly sanitise your can and lid (keep a bucket of StellarSan solution to hand to make this simple and easy).
Use a Bottle Filler Beer Gun (don't worry - it's perfect for cans too!) to purge and fill your can from the keg. Attach the beer gun to your keg and to your CO2 tank. Remember, make sure the beer is as cold as possible. Then slowly fill the can right to the brim.
Always cap on foam.
This is super important. Oxygen is the enemy of good, long lasting beer, so filling to the point where the lid will ‘push down’ on the foam will really go a long way to minimising O2 ingress and ensuring you are canning the best possible product.
Purging the can with CO2 is also helpful, for sure, but let’s say this again.
Cap. On. Foam.
Once your is filled, don’t dally – get that sucker seamed.
Done.
Canning your beer from a kegerator
The second method is super handy.
One of the common issues facing homebrewers with fantastic kegerator setups is how to take their delicious beer to parties (or any social occasion).
Well, with a canning machine, it’s super easy to go portable.
And, not gonna lie, rocking up to any social occasion with beer that you brewed yourself in cans is pretty damn cool...
And, not gonna lie, rocking up to any social occasion with beer that you brewed yourself in cans is pretty damn cool...
Anyway, this is easy. As before, make sure your cans and lids are sanitised. A quick spritz with Super Kill Ethanol spray will do the job if you are in a hurry.
Then, simply fill the can from your beer tap.
Once again, make absolutely sure that you cap on foam, so fill it right to the top, then seam away!
As these cans are likely going to be drink within 24-48 hours, minimising O2 ingress is not nearly as important in this case, but good practice is good practice.
That’s it really. Pretty simple, to be honest. Probably the hardest part is just getting your Cannular in spec, but don’t fret – we have a video that’s got you covered!
If you want to know a little more about the KegLand range of can seamers, the Semi Auto Cannular and the Manual Cannular, please follow the links.
Here is Kee introducing the world’s best value can seamer aimed primarily at the home brew market.
If you are looking for a dedicated Can Filler to go with your Cannular, check out the new KegLand RAPT Cannular Can And Bottle Filler - hook it up, dial it in and automate the whole porcess!
Happy canning!


